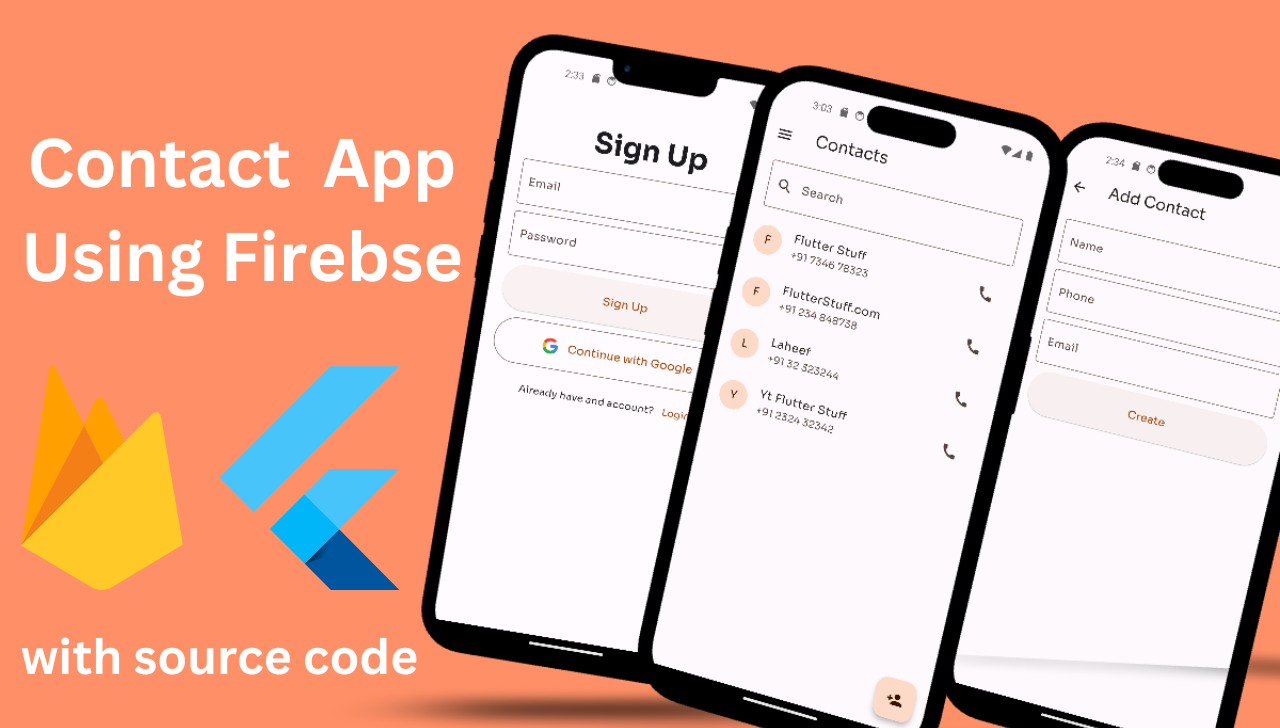
This article will guide you in creating a contact app using Flutter and Firebase. The repository contains this project’s complete code, showcasing various functionalities that make up a robust contact management application.
You will also be able to download the source code of this project.
Functionality
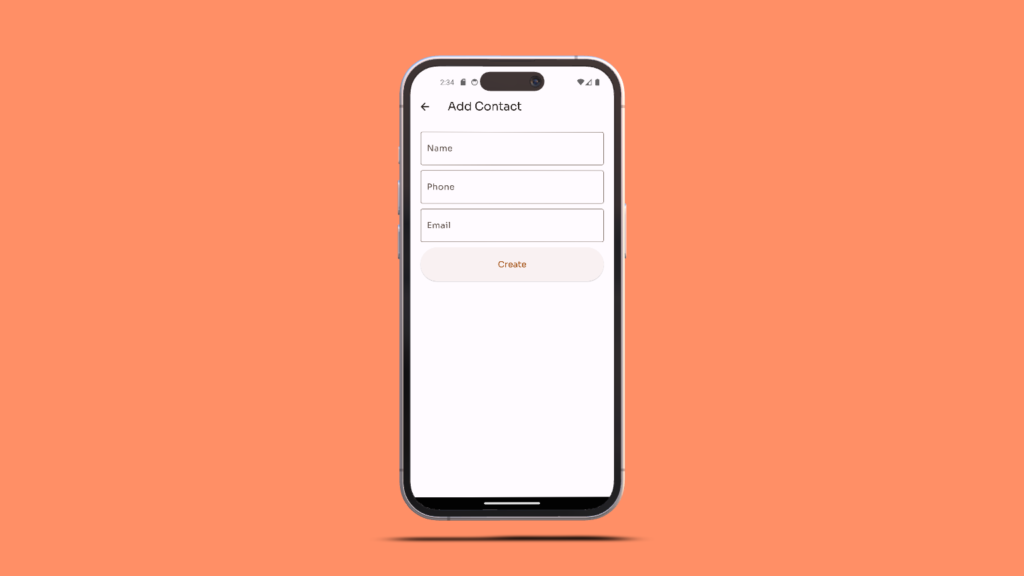
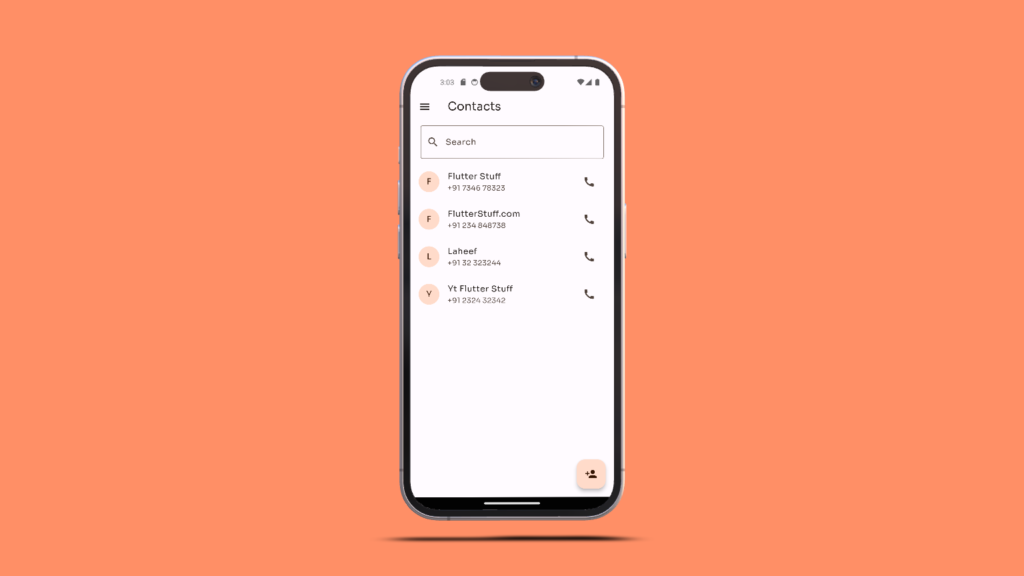
This contact app offers a wide range of features, including:
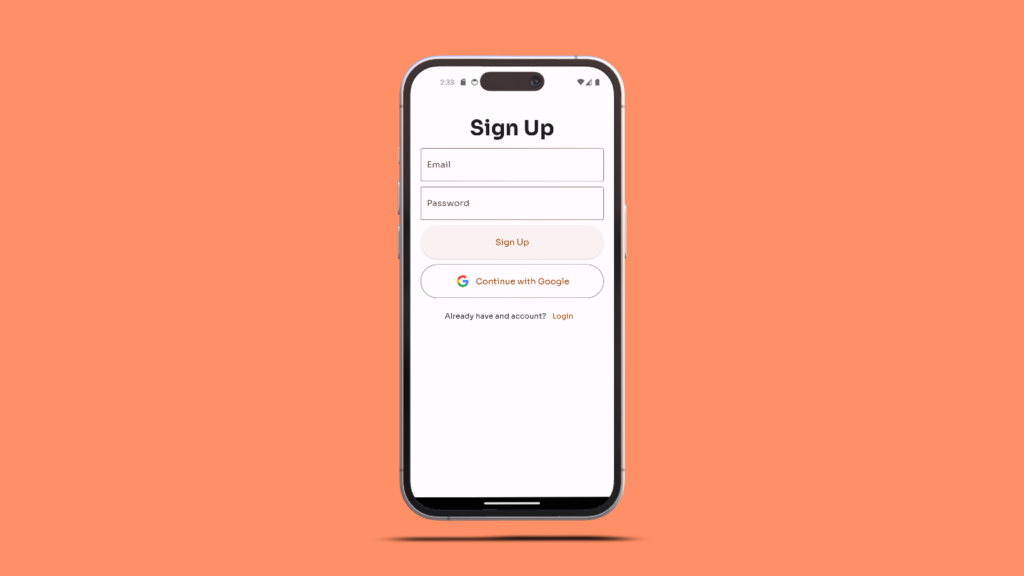
- Login / Sign up using email: Users can create an account or log in using their email address.
- Google Login/ Signup: Integration with Google’s authentication service allows users to sign up or log in using their Google account.
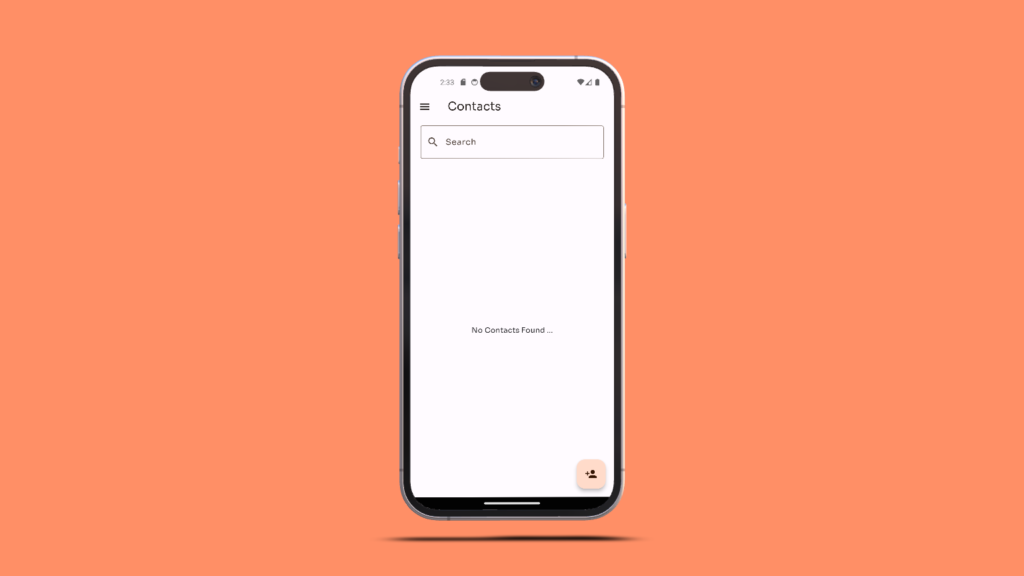
- Firestore Data Operations: The app demonstrates how to create, read, update, and delete data in Firestore, a NoSQL cloud database to store and sync data for client- and server-side development.
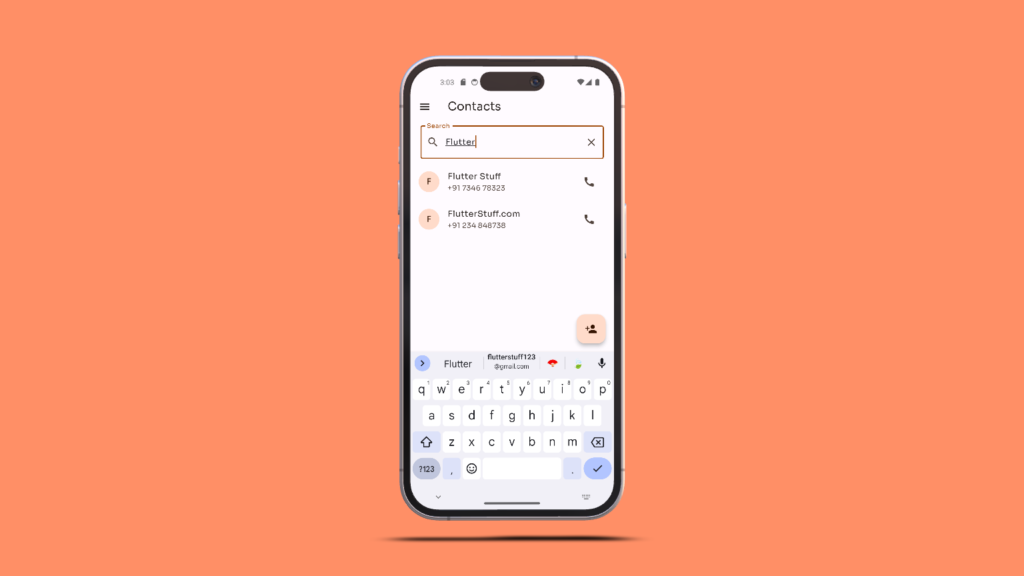
- Search Functionality: Users can search for contacts within the Firestore database.
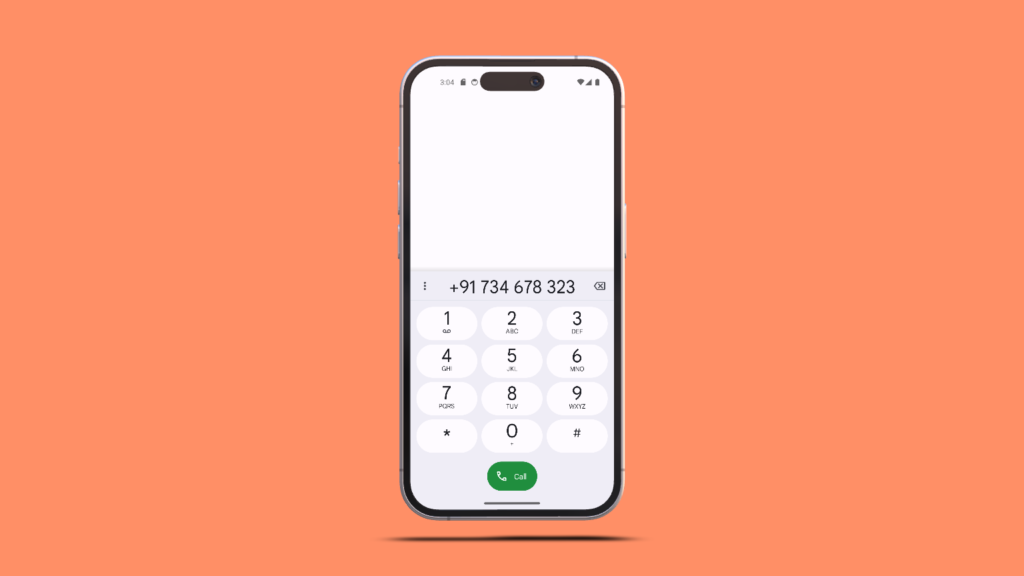
- In-app Dialer: The app includes a feature to open the device’s dialer with the contact’s phone number, facilitating easy calling.
Packages Used in This Project
Here’s a brief overview of the key packages and their roles:
- cupertino_icons: Provides a set of icons that follow Apple’s design guidelines, offering a cohesive look and feel for iOS-style applications.
- firebase_core: Serves as the foundation for integrating Firebase services into the Flutter app, ensuring that all Firebase features can be accessed and utilized.
- google_fonts: Allows the use of Google Fonts in the app, enabling the customization of text styles and fonts to match the app’s design aesthetics.
- firebase_auth: Handles user authentication, supporting email/password login, Google Sign-In, and more, ensuring secure access to the app’s features.
- google_sign_in: Facilitates Google Sign-In functionality, allowing users to log in using their Google accounts, enhancing the app’s user experience.
- cloud_firestore: Provides a NoSQL cloud database to store and sync data in real time, enabling the app to manage contact information and other data efficiently.
- url_launcher: Enables the app to launch URLs in the mobile platform, useful for opening the device’s dialer with a contact’s phone number, among other functionalities.
These packages collectively contribute to the app’s robust functionality, user-friendly interface, and secure data management capabilities.
Video Tutorial
For those who prefer a visual guide, a full video tutorial is available. If you’re having trouble following the written instructions, watching the video can provide a clearer understanding of the development process.
Important for Google Authentication
To set up Google authentication, you’ll need to obtain the SHA1 or SHA256 key. This process involves a few steps:
- Viewing the SHA1 Key: If you already have a
debug.keystorefile in your.androidfolder, you can view the SHA1 key by running the following command in your terminal:
keytool -list -v -keystore debug.keystore -alias androiddebugkey- Creating a New Keystore File: If you don’t have a
debug.keystorefile, you’ll need to generate one. Run the following command to create a new keystore file:
keytool -genkey -v -keystore debug.keystore -alias androiddebugkey -storepass android -keypass android -keyalg RSA -keysize 2048 -validity 10000After creating the keystore file, you can then run the command to view the SHA1 key.
Note: Ensure you run these commands inside the .android folder of your project directory.
By following this guide, you’ll be able to create a fully functional contact app using Flutter and Firebase, complete with user authentication, data management, and search functionality.
